RESTConnect iCal CalDAV set up
Please follow the below steps to add your REST calendar to iCal
Launch iCal

From iCal Menu
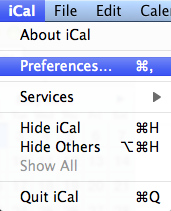
Choose Preferences
Add an Account
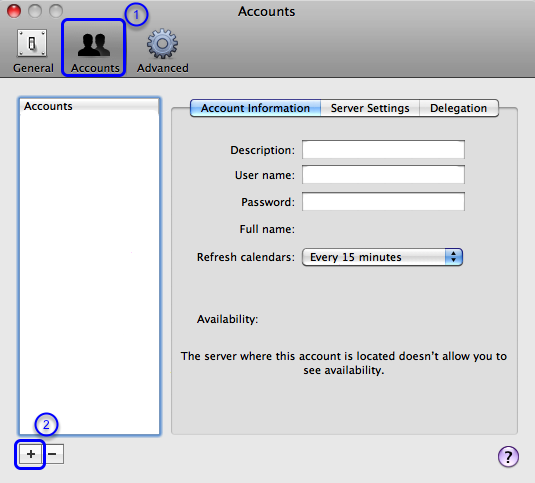
1. Click on Accounts
2. Click the PLUS button
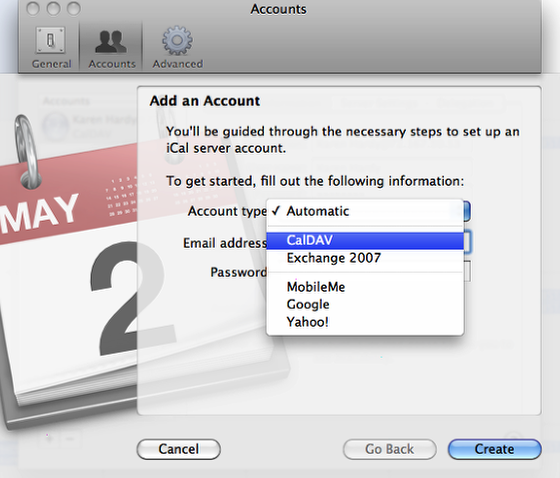
Account Type: Choose CalDAV
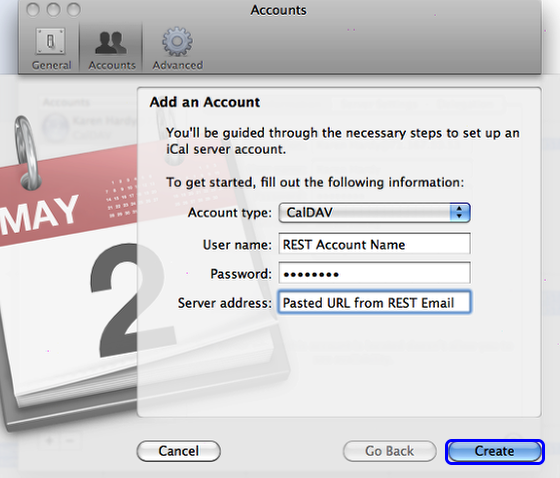
Enter your REST Account Name
Enter your REST Password
Paste the url for your account provided via REST Support Email
Click Create
You will see that iCal is verifying the connection
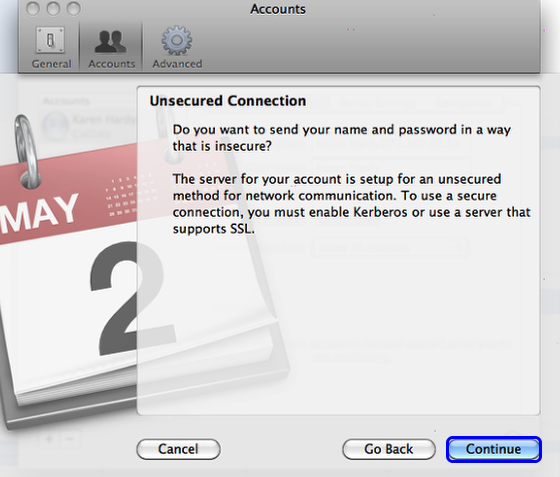
Click Continue
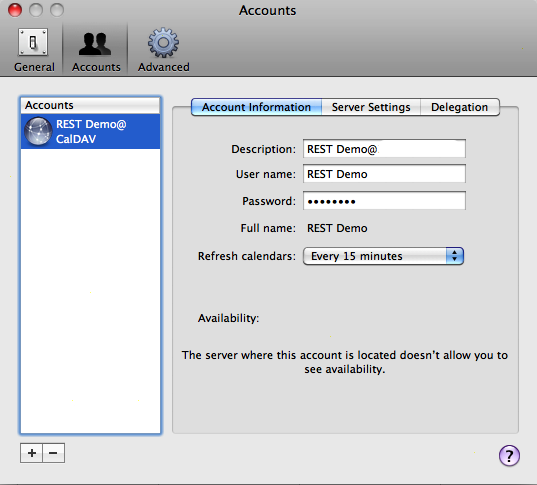
From the Accounts window you will see your REST Calendar has been added
Close the iCal Preferences window
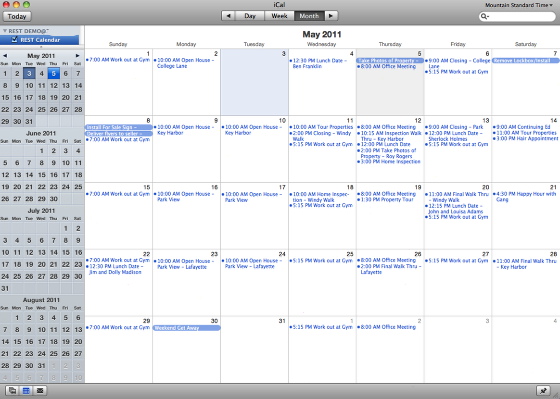
View your REST Calendar in iCal